|
|
BEAM From the Ground Up is a BEAM Reference Library site.
Build your own "Robot Jurassic
Park"
Ori Barbut tells all
Mark Tilden popularized the idea of RJPs (Robot Jurassic Parks) -- enclosed arenas for your BEAMbots to safely roam around in. With a bit of work, you can build one of your own, and for not much money. Ori tells how he built one for only $14.63 (Canadian), or about $9.31 in U.S. dollars (as of 7/2002).
Have you always wanted a Robot Jurassic Park, but thought that they were too difficult or expensive to build? Are your robots sitting on a shelf somewhere, trying to jump off and commit robot suicide? Are you frustrated with using textbooks as a pen for your robots? Well this tutorial is for you. I'll show you how to make a 2 foot-by-2 foot Robot Jurassic Park that will only cost you $14.63 Canadian, including the Crazy Ontario 15% sales tax!
First, here are the parts that I had to purchase. I bought everything at my local Home Building Centre, so I will include their part numbers and prices.
Description Quantity Part Number Cost Each Total Cost 1"X2"X2' Pine Select 4 000157483 $1.08 $4.32 1/8"X2'X2' Handyboard Handy Panel with
non-glossy white side 1 0621946 $1.85 $1.85 8X1 Flat Socket Head Robertson Metal Screws 16 5161-741 $0.15 $2.40 Painter's Touch Spa Blue Spray Paint 1 N1948830 $4.15 $4.15 Subtotal
$12.72 Tax* $1.91 Total $14.63
* That's tax here in
Ontario, 15%.
All values in Canadian Dollars.
Here's everything all together:
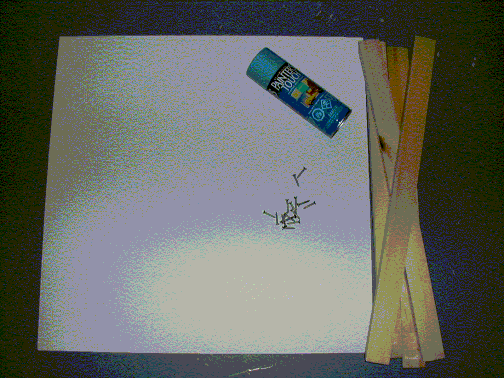
Here's the other stuff I used, but I had around the house. Chances are, if I had it, you will have it too.
- Drill
- 7/64 drill bit
- 4 jumbo felt pads (Normally goes on the bottom of furniture)
- Robertson screwdriver
- Hand saw
- Miter box
- Latex Primer (Oil should work, too)
- Paint brush
- 220 grit sandpaper
- White silicone caulking
- Caulking gun
- Newspaper (Not to make a mess while painting)
Obviously, if you don't
have any of the above, you will have to buy that as
well.
Step One
Take your pieces of Pine, clamp them in your miter box, and cut a 45 degree angle at the tip of each side, so that one side will still be 2 feet long.
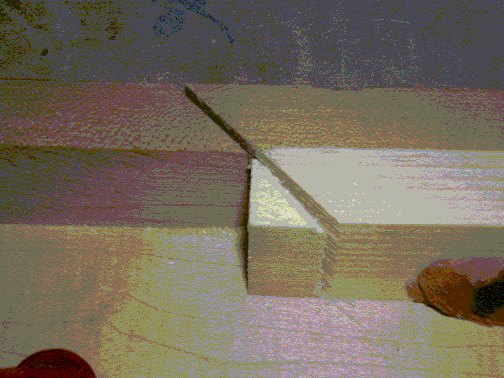
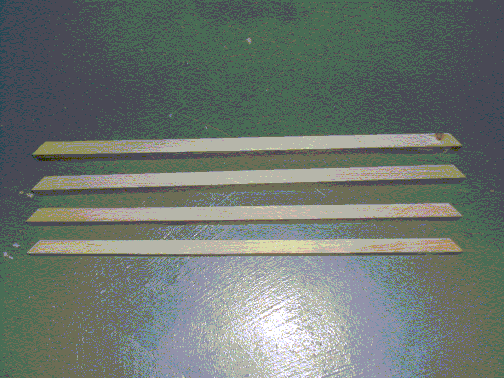
The cut on the other side should be in such a way that each piece of wood will be a trapezoidal prism. Your pieces of Pine should now all look like this:
Step Two
Now, paint one coat of primer onto one side of each piece of Pine. Paint on the shorter side of the pine, as shown here:
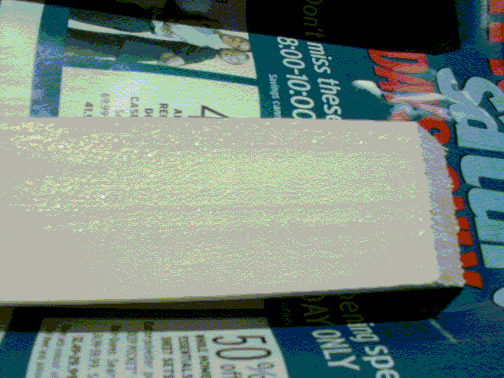
This is going to be the wall that your robots will come into contact with.
Step Three
Now it's time to get the spray paint out. Spray one coat of your Spa Blue paint onto the side which you put the primer on. This is the closest to Sky Blue that I could find, as Mark Tilden says that Sky Blue is the ideal colour for the walls of your Robot Jurassic Park.
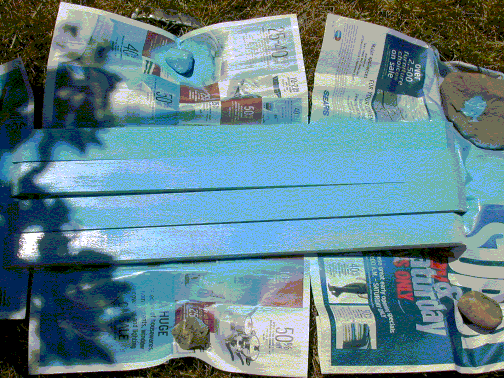
Wait for the paint to dry, and then sand it with 220 grit sandpaper. Now put on another coat of spray paint onto the wood. Again, wait for it to dry.
Since this paint only comes in glossy form, and non-glossy is best for the walls of a Robot Jurassic Park (The shine will trick your robots into going towards the walls), sand the paint again with 220 grit sandpaper. This "scuffing" makes the paint non-glossy.
Step Four
Take these pieces of wood, and arrange them in a square. Use the Handyman's Other Secret Weapon, electrical tape, to hold the wood in place.
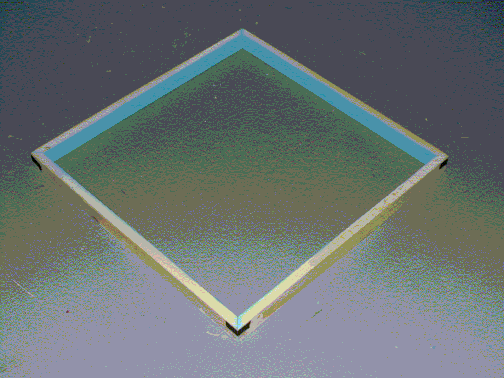
Then, place the piece of Handyboard down on this square, with the white side down. Put some more of the Handyman's Other Secret Weapon (electrical tape, for those of you who forgot already) to hold the Handyboard down. Put your 7/64 drill bit in your drill, and drill four pilot holes per side, as you see in the below image.
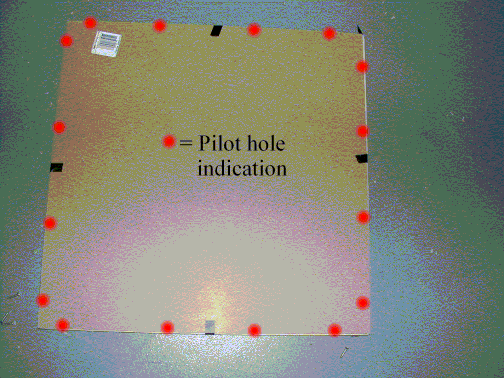
Don't worry, it doesn't have to be too accurate. It just needs to hold the wood in place, really.
Step Five
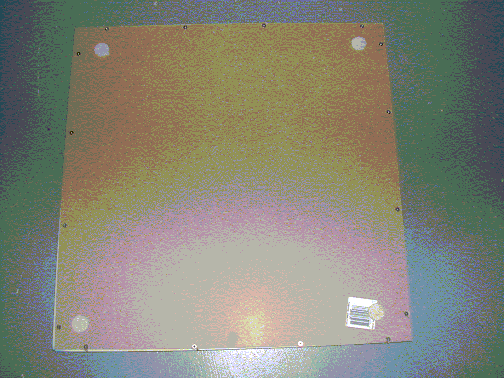
Grab your Robertson screwdriver (Square-head screwdriver for those who fell asleep that day in Tech class) and your 16 screws. Screw the Handyboard to the Pine wood, starting with the corner screws, and then putting the middle screws in. Then, take your jumbo-sized traction pads, peel off the adhesive, and stick one to each corner. This isn't necessary, but if your Robot Jurassic Park is going to be on a small surface (Mine's sitting on a 2'X2' table, exactly the size of the Robot Jurassic Park), it's probably a good idea.
Step Six
Take off the electrical tape and flip your Robot Jurassic Park over. Get your silicone caulking, and put it on your finger (Ewww! Don't worry, you can wash it off), and put in a small running bead of it in each corner of your Robot Jurassic Park, as shown below.
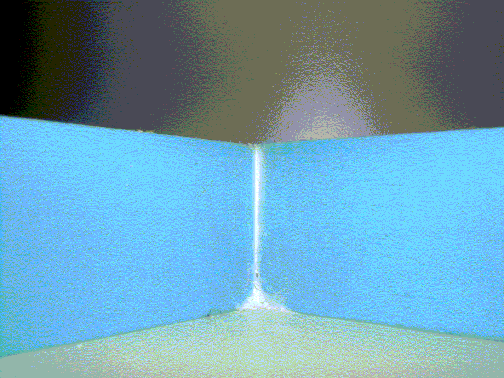
This will keep tactile sensors from getting caught.
You're Done!
Congratulations, you are now the proud owner of a brand new, inexpensive, Robot Jurassic Park. It should look like this:
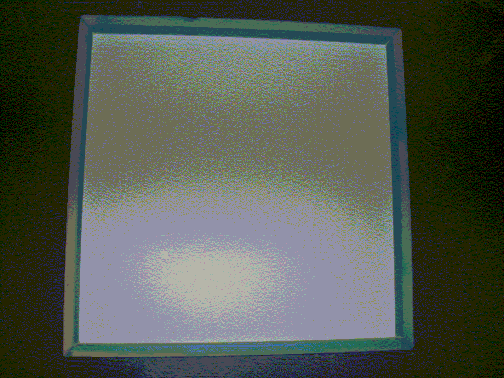
If you are so inclined, you can paint the top and outside edges of the Pine as well. I taped newspaper over my Handyboard, and painted the outside and top edges, as well as the silicone caulking, which does make it look nicer, but it really isn't necessary.
If you have any questions or comments, feel free to e-mail me .
Enjoy!
Ori
|
|
||
|
|
This page was last updated on |
|
