|
"What is the best solar engine?" is one of the
first questions asked by most BEAMers. But "best"
means different things to different people. End
use, parts availability, cost and efficiency are
all components of "The Best Solar Engine." End use,
parts, and cost are easily determined -- but
"Efficiency" has been difficult to measure. A
number of circuits have been posted (thanks Wilf)
showing how to increase efficiency and optimize the
design. But hard data is not available documenting
circuit efficiency.
The purpose of the BETS1 project has been to
develop a way to compare the relative efficiency of
solar engine designs, to measure the effects of any
'tweaking', and to optimize circuit design.
The requirements were:
- Generate a number related to the SE
performance
- Easy to use
- Simple to build
- Inexpensive (cheap)
Relative performance can be measured by counting
the rotations of the motor. The idea being that
when more power is sent to the motor, a higher
number of rotations results. There are a number of
tachometers and counters commercially available --
but they are large, and expensive, and are
definitely not BEAMish.
Fortunately, in most junk boxes, there is
usually an old computer mouse. Under the hood,
there is a slotted disk that is rotated by the
mouse's movement and a photo interrupter circuit to
send the motion information to the computer.
Software in the computer interprets this
information and moves the curser on the screen
accordingly.
|
|
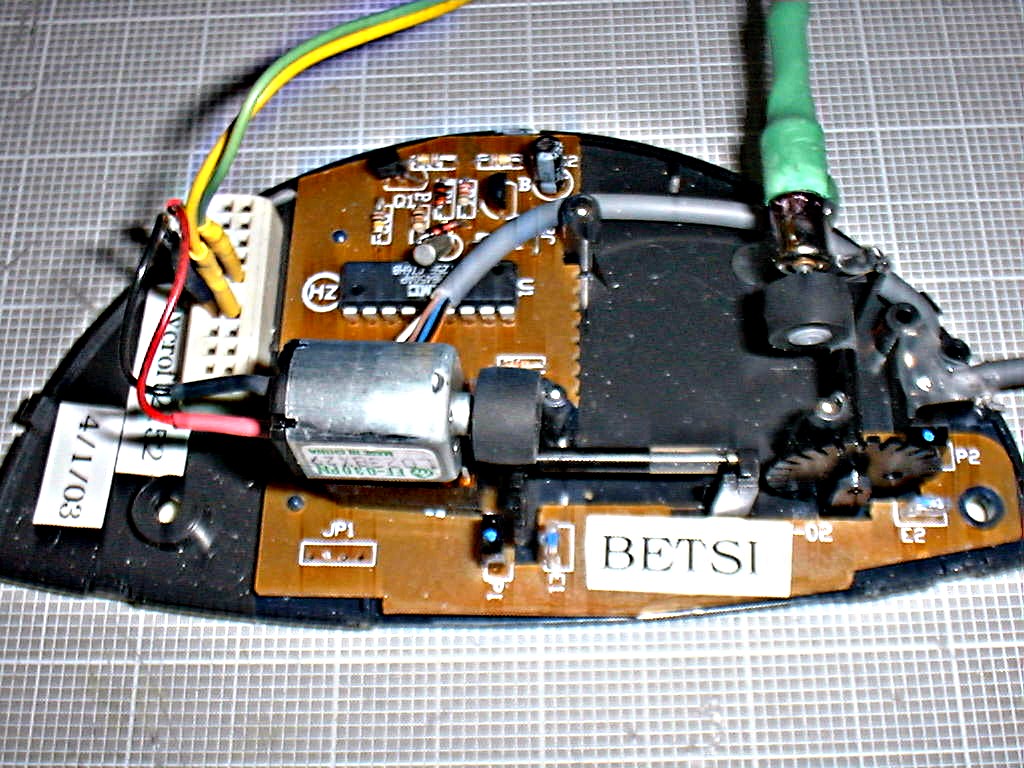
BETS1
Front View (click to
enlarge)
|
|
|
|
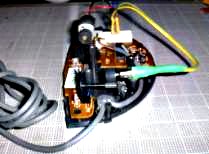
BETS1
Side View (click to
enlarge)
|
|
Building BETS1
- Increase the grip between the axle and the
slotted wheel by adding a small rubber tire. The
rubber tire from the Solarbotics Solar Racer
works great.
- Mount the motor/ tire so that it will spin
the slotted wheel. Glue guns are pretty handy
here. Trim away any plastic necessary for a good
fit. Make sure the axle spins freely.
- Done!
Using BETS1
- Download and run "Mouse Clocker" from the
web (www.downloads.com). It's a simple and fun
program that measures the distance the mouse
moves on the screen. As the author, Ryan Dupont,
says: "See how long it takes for your mouse to
circumnavigate the earth!"
- Unplug your mouse and plug in BETS1. Start
your solar engine! The revolutions will be
displayed as distance traveled.
- When finished, unplug BETS1 and plug your
mouse back in.
Hints / Tips
- Motor positioning is critical. You need good
360 degree contact between the tire and the
slotted wheel. But with minimum pressure. Too
much pressure can overload the motor and not let
it spin.
- You may need to shield BETS1 from room
light. Some photosensors used in mice can be
blinded by too much light.
- Mouse Clocker measures the distance the
cursor travels across the screen. You will need
to manually move the cursor back to the starting
point when it reaches the edge.
- You can adjust the sensitivity by changing
your mouse speed. Slower speeds require more
revolutions to travel the same cursor distance.
Try it with your regular mouse. Remember, you
are measuring relative performance, so keep your
mouse speed constant during testing.
- Since there are two slotted wheels, you can
install two different motors.
- Start your cursor in the middle of one edge
of the screen. You can then watch the
movement.
- When testing, discard the first measurement.
Then use an average of the next five or ten
measurements.
Summary
BETS1 is cheap to make (do you have a spare
mouse handy?) and simple to use. Plug BETS1 into
the mouse port, let the beam engine run and get the
distance. At last, a hard number for the
performance of the beam engine.
Preliminary test results are on a subsequent
page.
Thanks to Wilf for the idea of converting BETS1
into a non-contact measuring device by using an
optical mouse.
|